Essential Wall Mirror Hanging Tips
Mirrors in Brisbane – and everywhere else in the world – are most traditionally hung on walls, as opposed to standing them on the floor. Wall mirrors give you more flexibility in terms of placement, height, framing and weight, and can be hung in just about any way. There are a few rules to follow, but they’re simple and can be easily bent depending on the room, mirror and situation. Mostly, you’ll be taking size into account: size of the mirror, size of the room and size of the frame. After that, the rest is up to you.

The Basics of Hanging a Wall Mirror
Before you begin your project of hanging a wall mirrors, you’ll need to invest in a few simple tools and accessories:
- Hammer and/or drill
- Nails (not screws, because they have a thread and the body of the nail is bald, which helps it slide into the wall more easily)
- Nail anchors or toggle bolts for extra support
- Measuring tape
- Level
- Pencil with eraser at the end
- Stud finder (or just rapping your knuckles against the wall to find a beam, but a stud finder is easier, faster and more straightforward to use)
The first thing you’ll want to do is locate where the beams are if you’re hanging your wall mirror on a plaster wall because there are few spots in the wall that can easily take a mirror, never mind a heavy one. Once you’ve located where the beams are, lightly score a vertical line in those places. You won’t necessarily be hanging the mirror in this spot, but it’s to act as a reference point for when you do use the hammer and mails.

Full Length Mirror Spacing, Size, Shape and Perspective
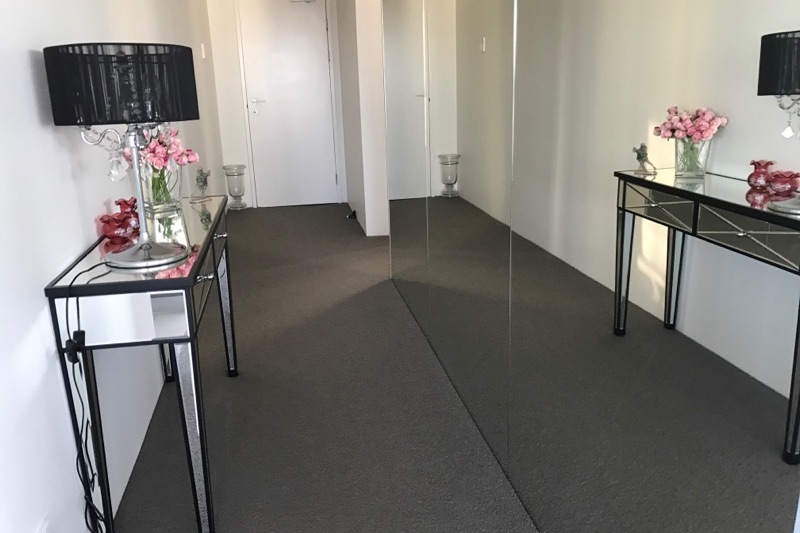
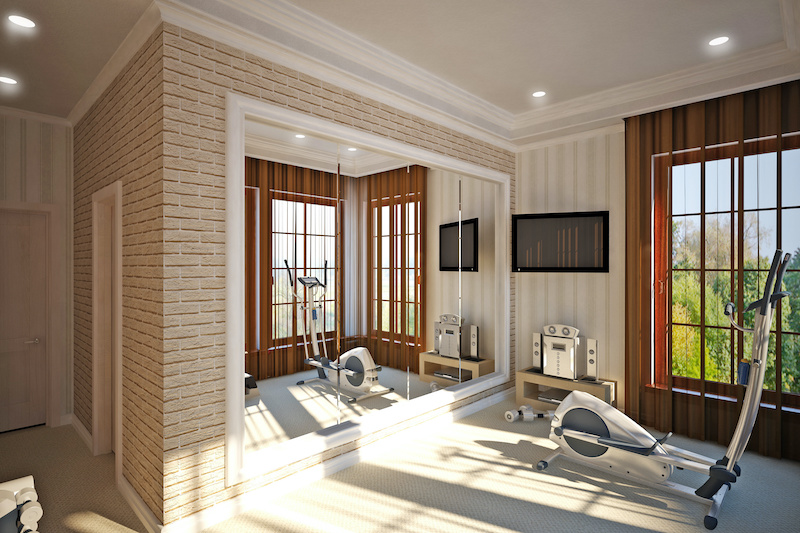
One of the most important things many people miss about hanging mirrors is how it fits into the room. You can’t change the four walls inside a room, so everything else – including mirrors – has to work around them. For larger rooms, a good rule of thumb is picking out a wall mirror that’s between 2 to 3 feet on all sides; in smaller rooms, you’ll want to stick within a few inches of a foot.
In terms of how high the mirror should be hung, look at the height of the rest of the furniture and the people in your home. Ideally, the centre of a full length mirror should be about 6 feet off the ground if it’s the only object on that wall. You can use this 6-foot guideline if there is a small object on the wall, such as an ottoman, but the object should be no more than 2.5 feet off the ground.
Next, take your measuring tape and level to centre where the mirror will be hung. Using your pencil, mark off two points where the nails will go in, making sure they’re horizontally level. The anchors will have to go in first, but you’ll need to hammer the nails in to create a space for them. Once you’ve done that, squeeze the anchors in about halfway, put the nails in the anchors, and gently hammer both in until the anchor is flush with the wall. Once you’ve done that, the only thing left to do is hang your custom Brisbane mirror on the wall and enjoy it!


